In mid 2018 my desktop PC got a really bad random restart. So, I thought this might be something that happened to the motherboard as it seemed I didn’t properly update the BIOS (UEFI). I forgot not to reset it to the default setting before doing the update, therefore I might break the BIOS ROM or the software/microcode.
Then I decided to RMA the motherboard and also the processor to the store where it was bought. Whether the processor was also damaged or perhaps they also need it for just simply to turn it on. By the way it was Biostar B350ET2 and AMD Athlon X4 950. SPOILER ALERT: Still using the board till now, but with Ryzen 5 3600.
A few days passed, they told me there was no issue, even sent me a video. Then they shipped it back to me. Well that was weird and I was starting to think perhaps the problem is with the PSU, FSP Hexa+ 400.
So I started looking for where this PSU was bought but I thought at that time it would be simpler if I just contact the distributor directly. Long story short, the procedure with NJT, the distributor was pretty simple and the result is like the motherboard RMA. There was nothing wrong either. Well that was disappointing. But it was more disappointing as somehow the fan was broken.
We continued to email each other and came to a conclusion it was the expedition’s fault. They asked me to just ship the PSU back and it will be taken care of. Of course I refused, as it might be broken again in the shipment process. So I decided, let’s fix this myself. Whether voided the warranty or not.
I asked them, is it possible if their technician / technical support guided me through. But unfortunately they are only available Monday-Friday at working hours. As far as I can remember, I had classes and therefore was unavailable at those times.
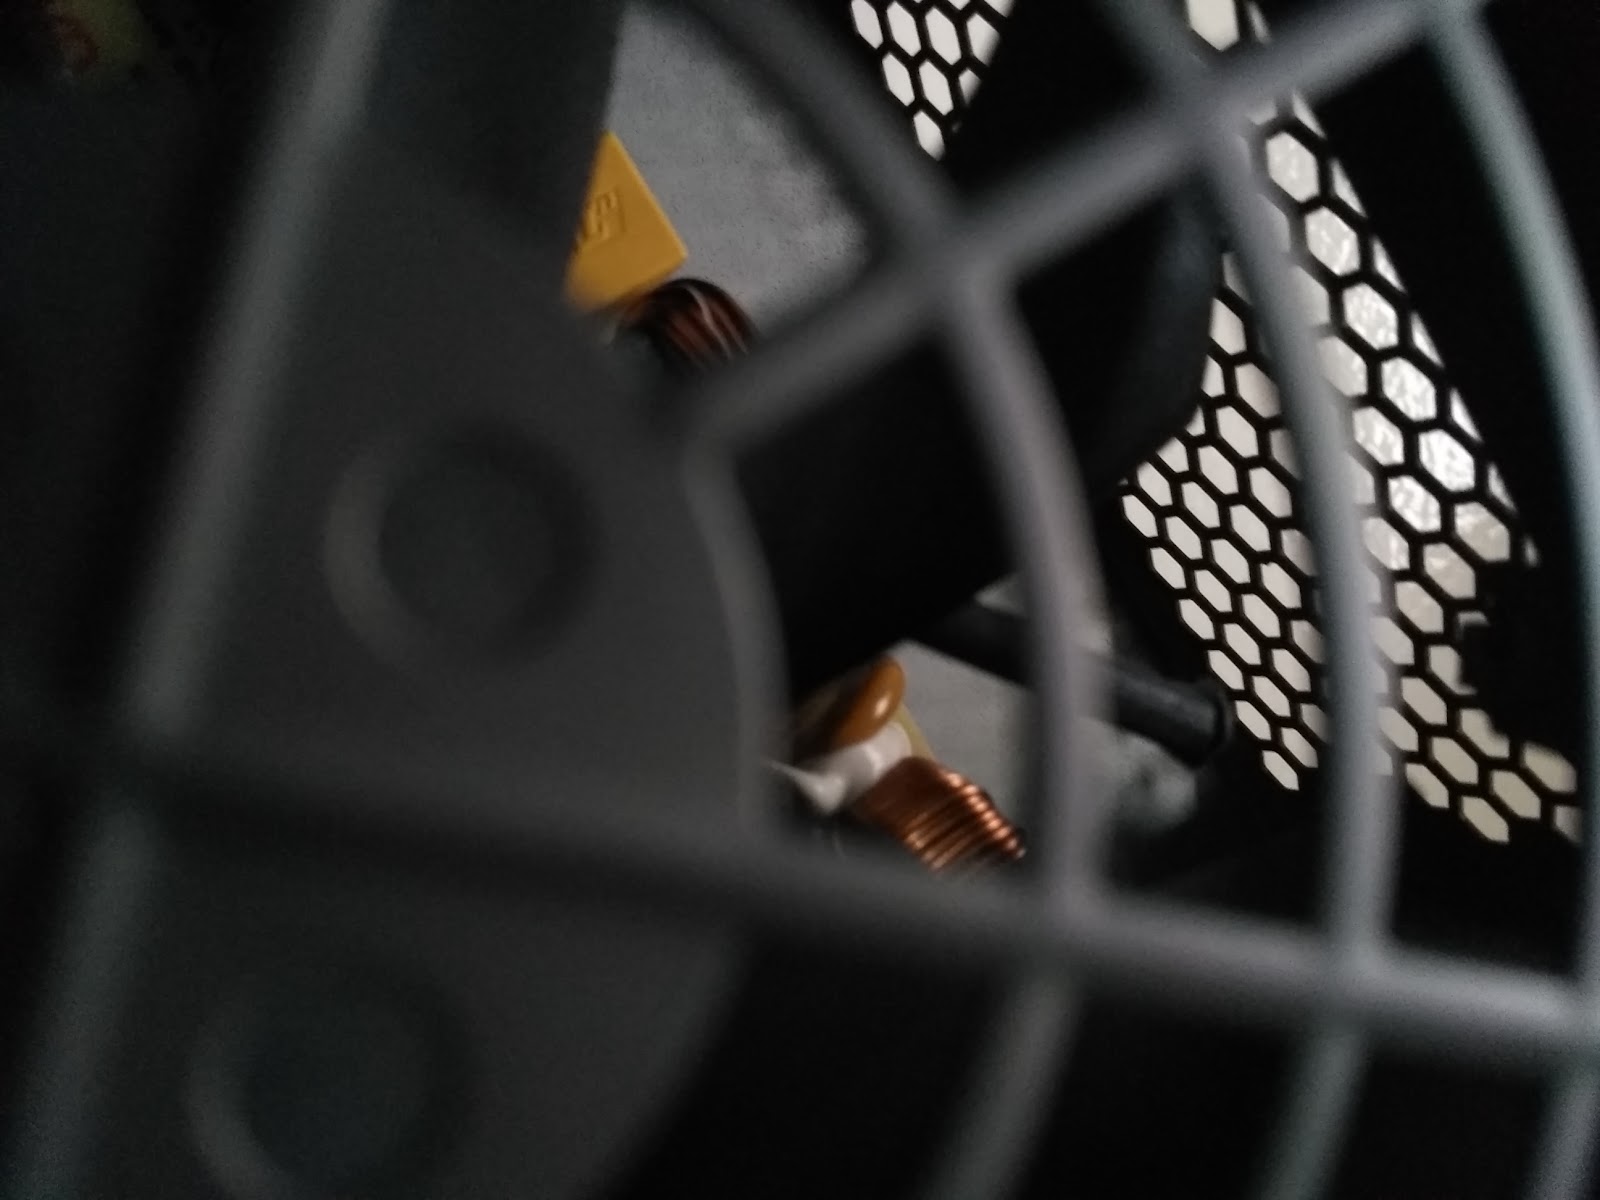
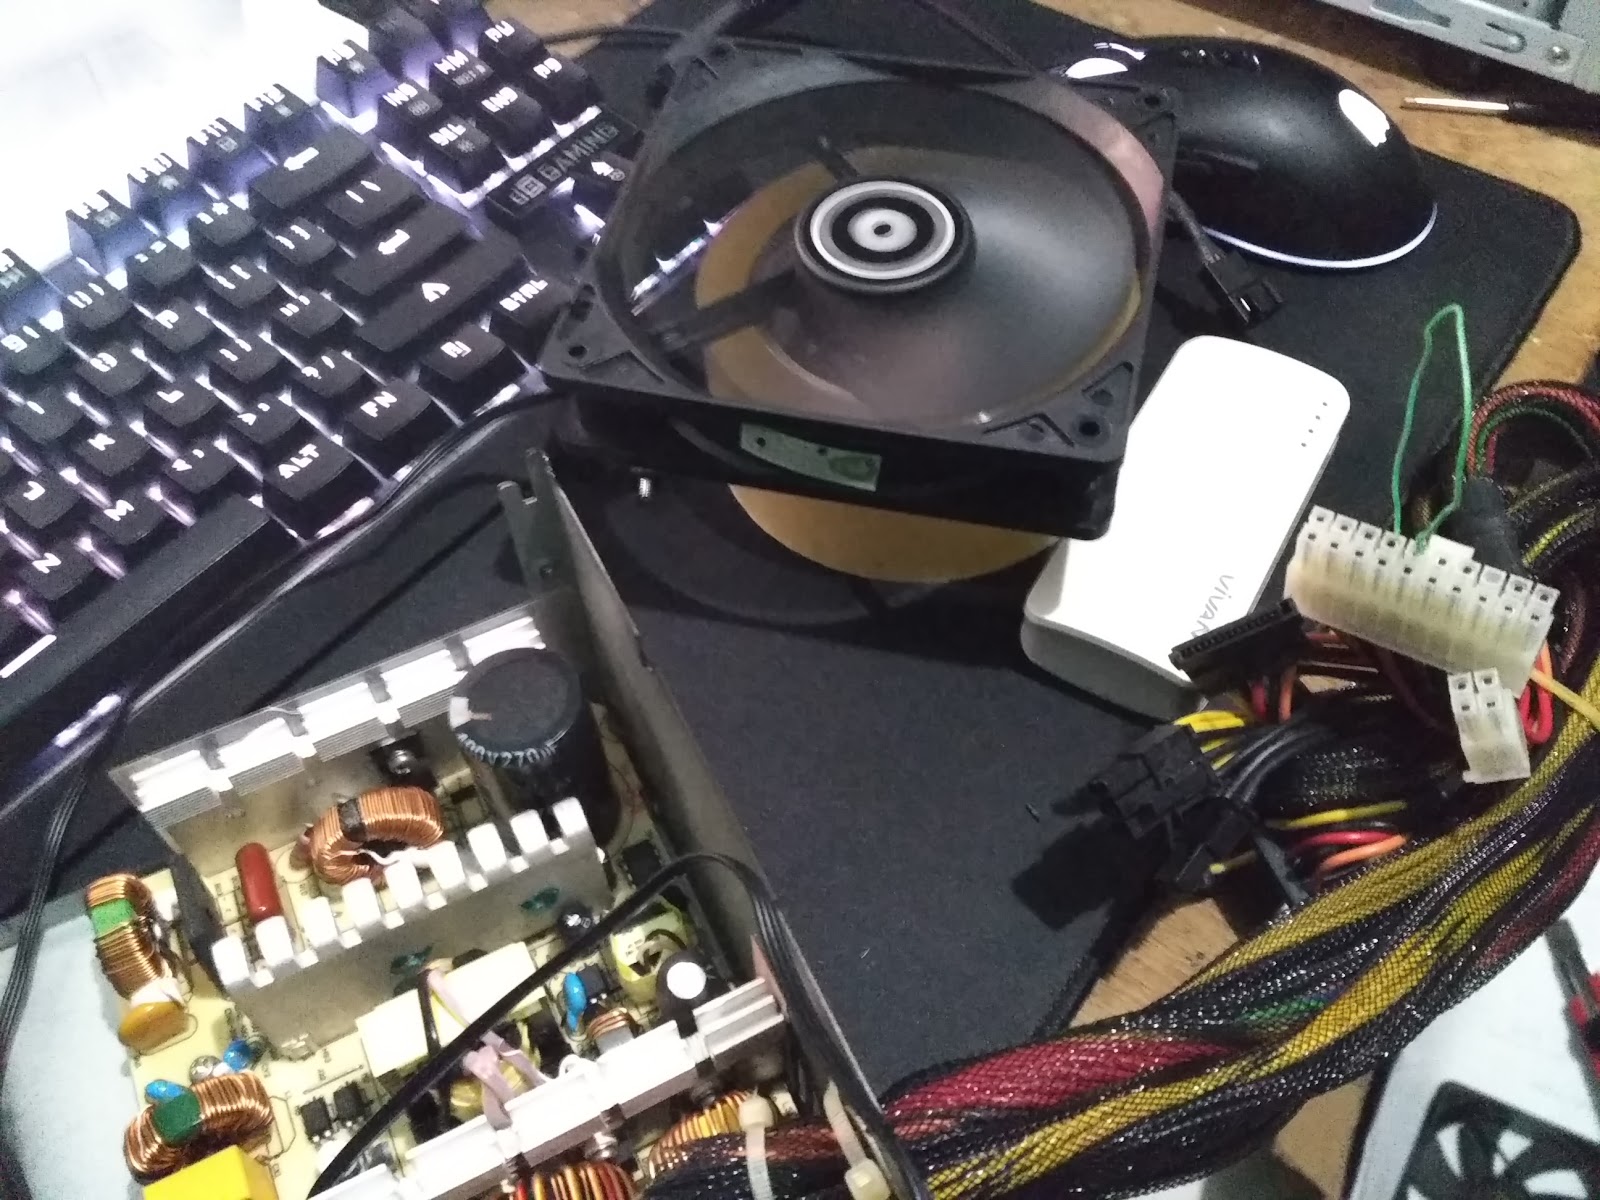
Opening up the case was pretty easy. Just keep in mind, we really have to be careful not to touch that big capacitor though. As it might still have some amount of energy stored.
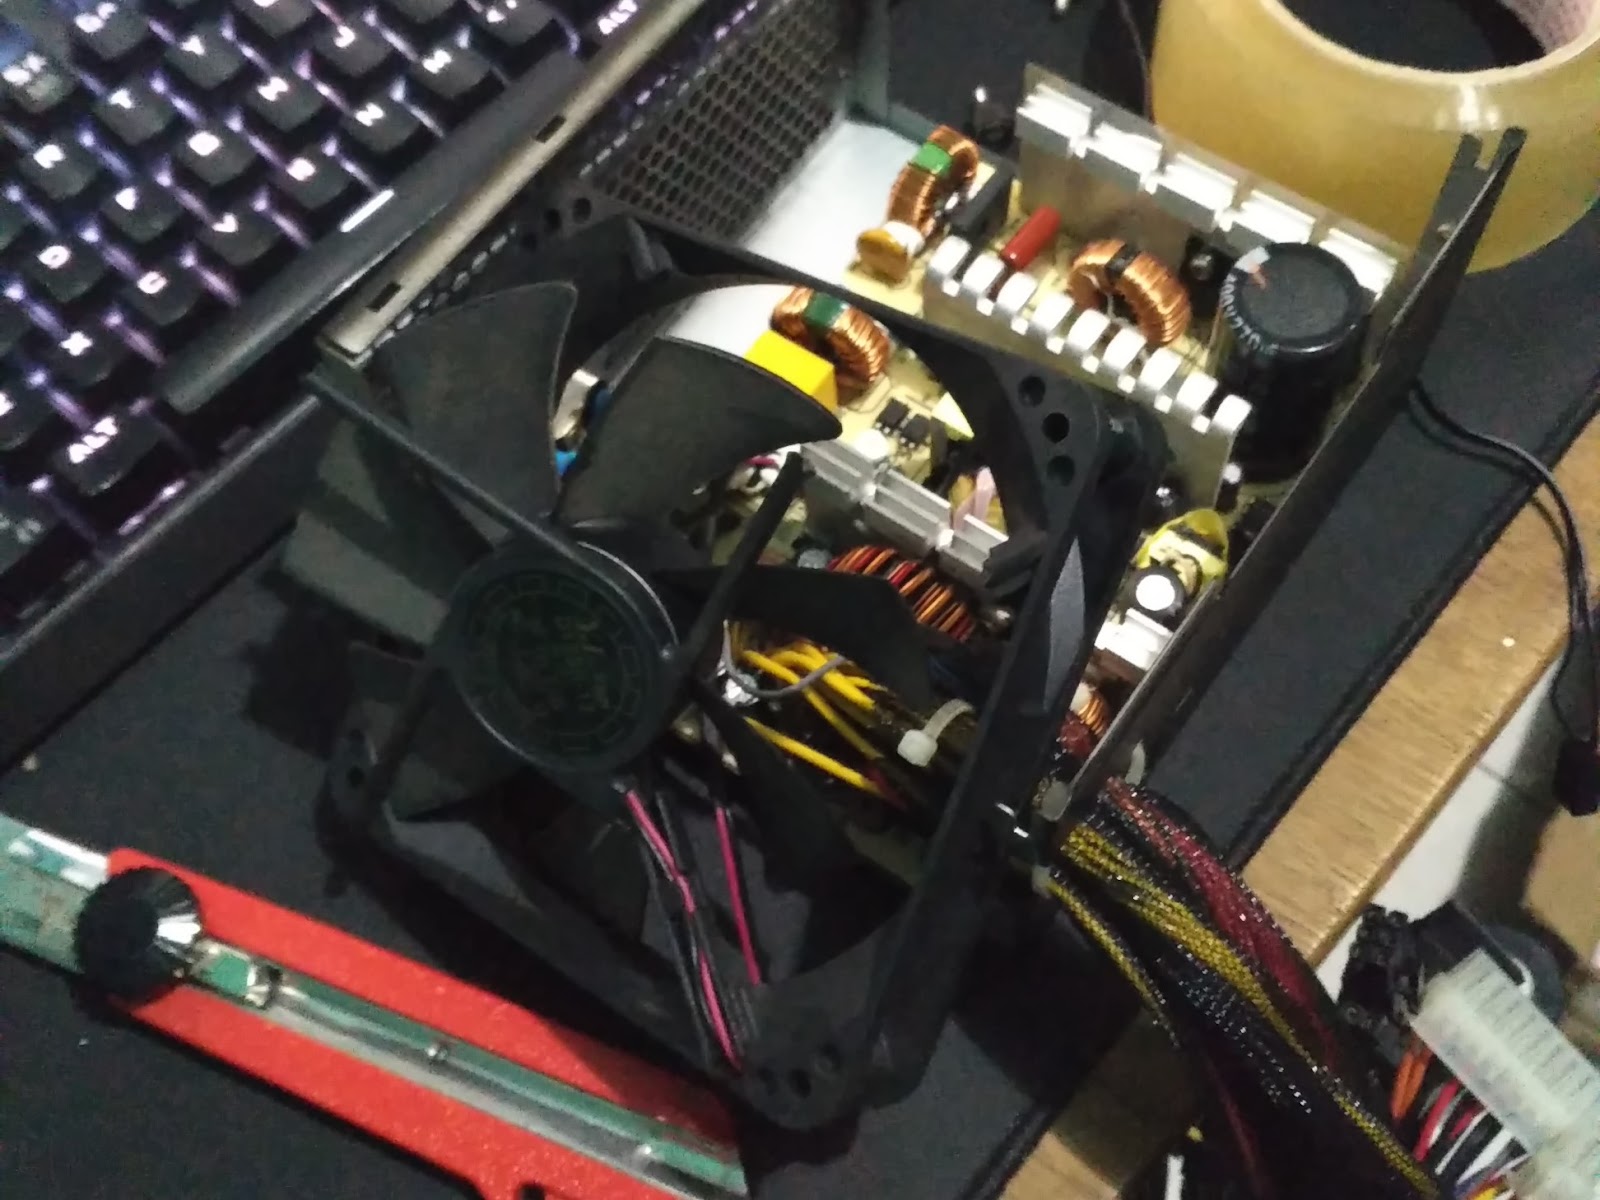
As seen in the picture, it was pretty bad. Three corners of it not at the right place. Like a simple fix with glue won’t help. The only solution was to replace the fan.
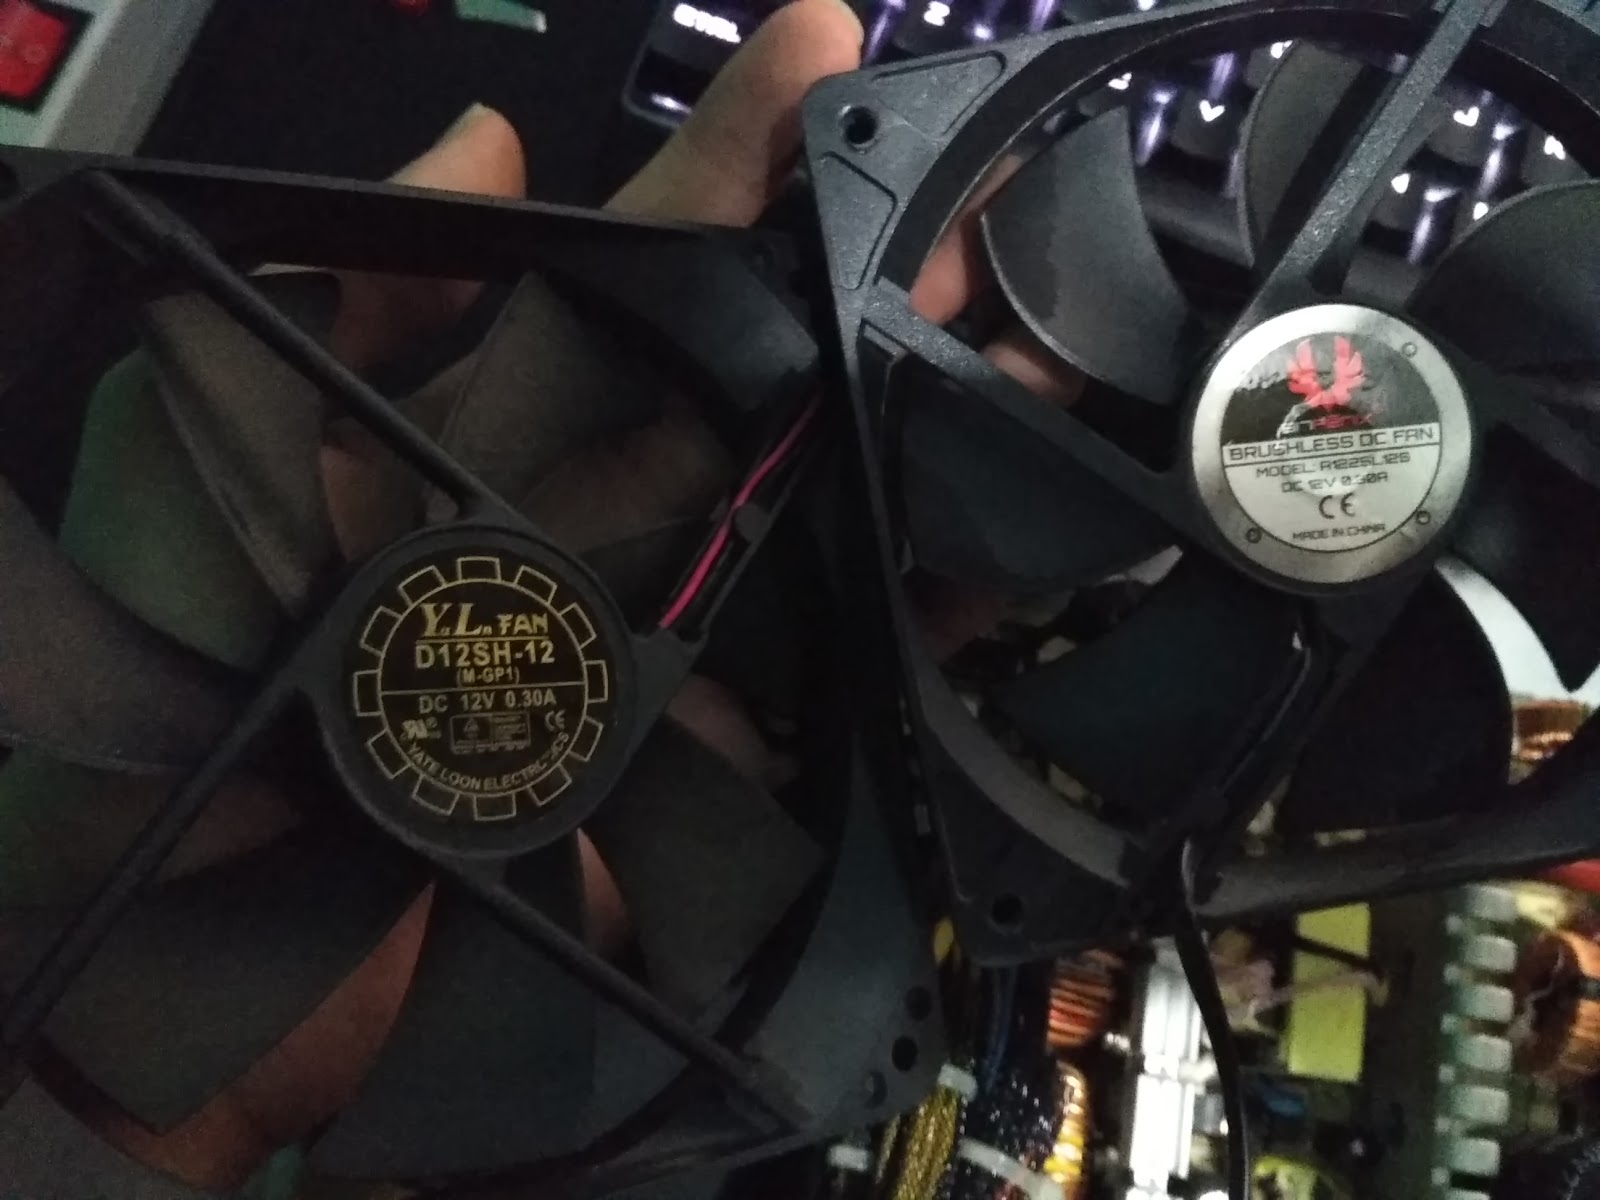
The fan is 120 mm, 12 DC, in short it is a regular fan that we usually use for case, heatsink, etc. Fortunately I was using Bitfenix Neos (still using it now), it came with two 120 mm fans. So, I decided to cannibalise one of them as I was planning to replace the fans for my case anyway.
Now the next challenge is to connect the fan to the PSU’s board. But wait, it’s not quite as simple as using a 4 or 3 pin fan header. The cable is soldered and glued. So I need to cut both the fan cable and cable from the PSU.
At first, I only glued them altogether. It didn’t quite work as intended. The cables did not contact each other well enough. So I’ve come to a conclusion to make a better connection between them. And after discussing with some friends, the best way is to make them like in this video from “Make:”. Then just tape them to make it covered and not to be short circuited.
And that’s it! As for final touches I sprayed some parts of the case white and put a sticker on top of it, also white. The PSU is still running good to this day (July 2020). Though the warranty ended around December last year (2019).
Anyway the fan is not loud whatsoever. More or less, the replacement works as the original. As far as I know, it runs on static 5V. It’s kind of basic PSU, so no features like zero fan RPM variable speed, or etc.
Overall, it was such a journey to fix a PSU. More like just replacing one big component in it. The store was very nice, the distributor too, but not so much the expedition. Well anyway not so much the expedition’s fault as me, myself can package the PSU safely. But the distributor, not really.